Shopify resourceGuide8 min read
Product Photography Guide for Small Brands: Tips and Checklist
Clean product photos need a window, a tripod and a plan, not a studio. Here is the shot list, setup, lighting and Shopify upload checklist I give small brands that shoot their own products.
Key takeaways
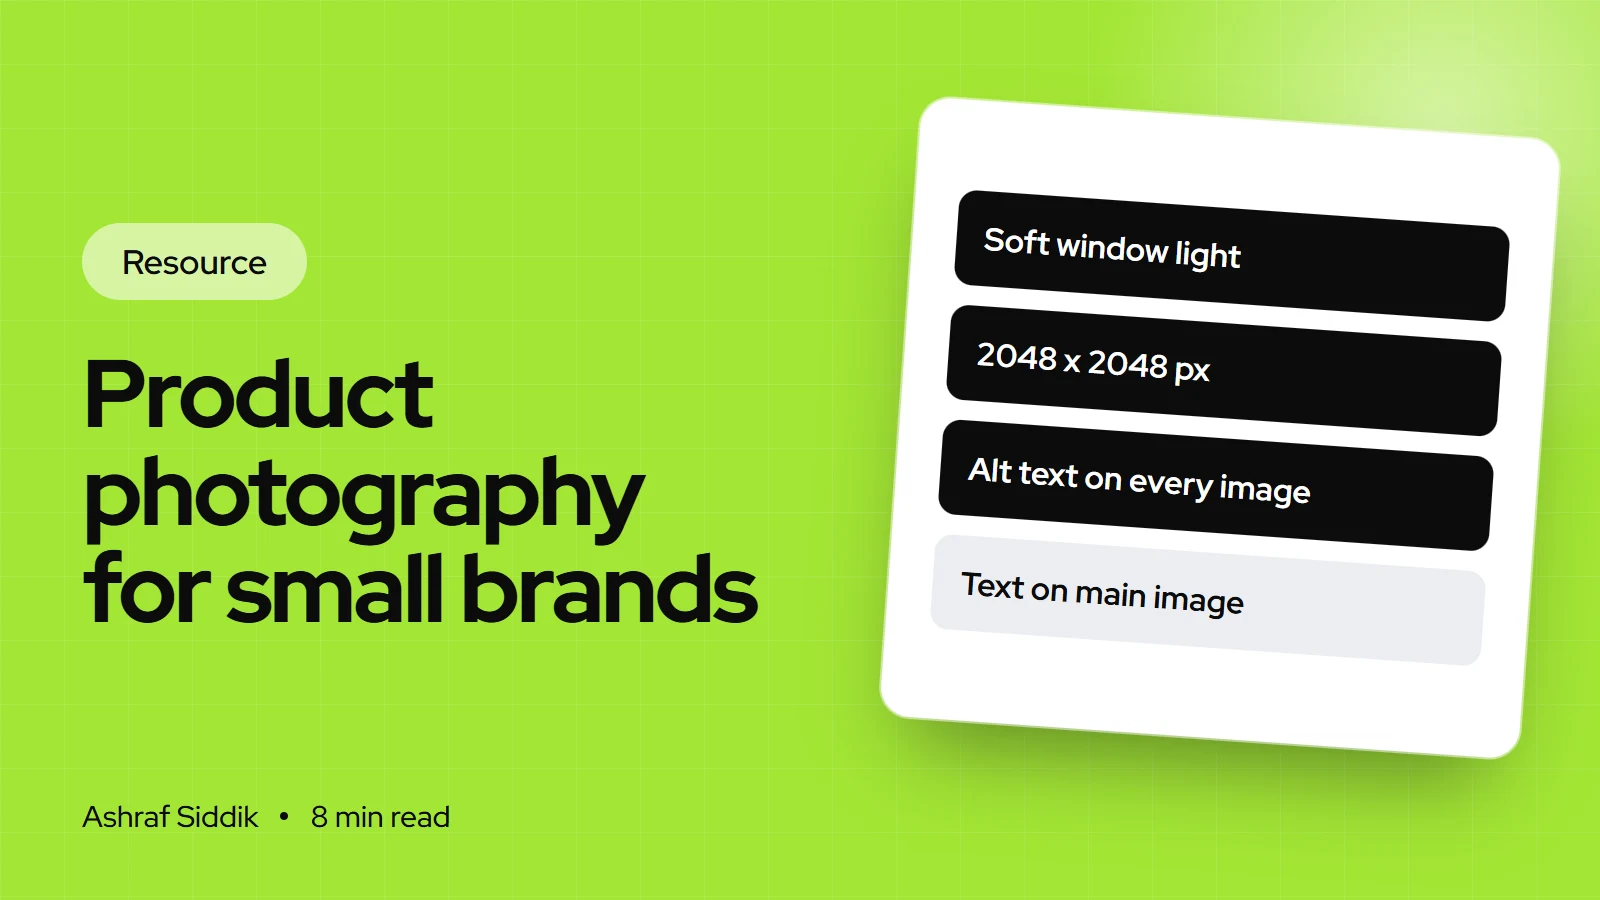
- Shopify recommends 2048 x 2048 px for square product images. It accepts images up to 5000 x 5000 px (25 megapixels) and under 20 MB.
- Google Merchant Center recommends images of about 1500 x 1500 px or more, and will require at least 500 x 500 px for all products from 31 January 2027.
- Google Shopping images can't carry promotional text, watermarks, borders or added logos, and the product should fill 75% to 90% of the frame.
- A phone, a window, a sheet of white foam board and a tripod are enough for clean product photos. Consistency across the catalog matters more than gear.
- Who it is for
- Small brands shooting their own products
- Time needed
- Half a day to set up, then about 10 minutes per product
- What you need
- A phone, a tripod, a window and white card
This guide is for small brands shooting their own product photos, usually on a phone, usually on a kitchen table. It covers the shot list, light, setup, editing and the upload settings in Shopify, as checklists you can work through on shoot day.
I've built and reviewed product pages for a long time, and weak photos are one of the most common things holding a page back. You don't need a studio. You need a repeatable setup and a list. Image specs below come from Shopify's Help Center and Google's Merchant Center and Search documentation, as checked on 7 November 2026.
Image sizes to work to
- Shopify recommended2048 pxSquare, 2048 x 2048 px usually displays best.
- Shopify maximum5000 px5000 x 5000 px, 25 megapixels, under 20 MB.
- Google recommended1500 pxAbout 1500 x 1500 px or above.
- Google minimum500 px500 x 500 px for all products from 31 January 2027.
1. Plan the shot list
Write the list before you set anything up. Every product gets the same core shots, in the same order, so your collection pages look like one brand.
| Check | Why it matters | Where in Shopify |
|---|---|---|
| Main shot on a plain background | Used in collection grids and Google Shopping | First image in the product's media |
| Front, back and side angles | Answers the questions a shopper would ask in a shop | Product media, in a fixed order |
| Close-up of texture or detail | Shows quality the main shot can't | Product media |
| A shot that shows scale | Size surprises are a common return reason | Product media, near the size info |
| Product in use or styled | Helps shoppers picture owning it | Product media and collection banners |
| One image per variant | Shoppers expect the photo to change with the color | Variant image on each variant |
| Packaging or what's in the box | Sets expectations for gifts | Last image in the media |
How many is enough depends on the product and price. My answer on how many product photos to use gives ranges by product type.
2. Set up a small home studio
This setup costs very little and fits on a table. It's the one I suggest to clients who shoot their own products.
- Pick a spot next to a large window. Side light from a window is soft and free. Avoid direct sun, which makes hard shadows.
- Make a sweep. Tape a sheet of white or light gray card to the wall and let it curve down onto the table, so there's no visible horizon line behind the product.
- Add a reflector. Stand a piece of white foam board on the side opposite the window to fill in the shadows.
- Mount the phone. Use a tripod or a phone clamp. A fixed camera gives every product the same angle and framing.
- Mark the positions. Put small tape marks on the table for the product and the tripod, so tomorrow's shoot matches today's.
- Turn off the room lights. Mixing warm bulbs with daylight gives color casts that are hard to fix later.
3. Lighting tips
Light decides most of the quality of a product photo. These are the product photography lighting tips I give most often.
- Use one main light source. One window or one lamp, never both. Two sources at different colors look muddy.
- Diffuse hard light. Hang baking paper or a white shower curtain over the window on bright days.
- Shoot at the same time of day. Daylight changes color and strength across the day. A fixed slot keeps a batch consistent.
- Use a black card for shiny items. For glass, jewelry and metal, a black card at the side adds a clean dark edge and cuts reflections.
- Move the product, not the light. If shadows are too strong, move the product closer to the reflector or further from the window.
- Buy a lamp only when you need to. If you shoot in the evening or in winter, one daylight-balanced LED panel with a diffuser replaces the window.
4. Camera settings and composition
| Check | Why it matters | Where in Shopify |
|---|---|---|
| Same aspect ratio for every product | Mixed shapes make collection grids look messy | Customize, product card image ratio |
| Product fills 75% to 90% of the frame | Google's guidance for Shopping images | Crop in the media editor |
| Step back and use the 2x lens | Wide phone lenses distort close-up products | Your phone's camera app |
| No digital zoom | It throws away detail you can't get back | Your phone's camera app |
| Highest resolution setting | Leaves room to crop to 2048 px | Phone camera settings |
| Product sharp from front to back | Shoppers zoom in on details | Check on a computer screen, not the phone |
5. Edit and export
| Check | Why it matters | Where in Shopify |
|---|---|---|
| Correct white balance first | A white product must look white, not blue or yellow | Your editing app |
| Remove or replace the background if needed | Gives a clean main shot | Shopify media editor, background tools |
| Crop to your chosen ratio | Keeps grids consistent | Shopify media editor, crop |
| Export near 2048 x 2048 px | Shopify's recommended square size | Your editing app, export settings |
| Descriptive file names | my-new-black-kitten.jpg beats IMG00023.JPG | Rename before upload |
| Colors match the real product | Wrong colors lead to returns | Compare side by side in daylight |
Shopify's built-in media editor can crop, resize, rotate and remove or replace a background with AI. Open it by clicking a product image in your admin. Check AI-edited edges closely on hair, fur and fine detail.
6. Upload and set up in Shopify
| Check | Why it matters | Where in Shopify |
|---|---|---|
| Main image first in the order | It shows on collection pages and in search | Products, drag media to reorder |
| Alt text on every image | Google calls alt text the most important image metadata | Click the image, then Add alt text |
| Variant images assigned | The photo switches when a shopper picks a color | Products, each variant |
| Video under Shopify's limits | Up to 10 minutes, 1 GB and 4K | Product media, upload .mp4, .mov or .webm |
| 3D model if it helps | GLB or USDZ, up to 500 MB | Product media |
| Images checked on a phone | Most shoppers see them on a small screen | Your store on a real phone |
Alt text should describe the image plainly, such as "Navy wool scarf with fringed ends, folded". Google warns that stuffing keywords into alt text can make a site look like spam. My answer on whether alt tags matter on Shopify and my image SEO guide go further. For size questions, see what size Shopify product images should be.
7. Google Shopping image rules
If you list products on Google through Merchant Center, your main image has to meet its rules. A clean white-background shot meets all of them.
| Check | Why it matters | Where in Shopify |
|---|---|---|
| No promotional text or prices | Calls to action, prices and "Best" are banned | Main image in the product's media |
| No watermarks or added logos | Allowed only if part of the physical product | Main image |
| No borders or barcodes | Both are on Google's banned list | Main image |
| No placeholder images | "Coming soon" and logos instead of photos are banned | Every product before listing |
| At least 500 x 500 px | Required for all products from 31 January 2027 | Product media |
My guide to setting up Google Merchant Center on Shopify covers the feed side.
Common misses
- Using the supplier's photos. They appear on every other store selling the product, and you may not have the right to use them. See whether you can use a supplier's product photos.
- A different background per product. Collection pages look like a market stall instead of a brand.
- Text on the main image. It breaks Google Shopping rules and is hard to read on a phone.
- No scale shot. Shoppers guess the size, guess wrong and return it.
- Colors edited until they pop. If the product arrives a different shade, it comes back.
- Huge files straight from the camera. Shopify accepts them, but 2048 px is the recommended size and uploads faster.
Before you sign off
| Area | Done when | Where |
|---|---|---|
| Shot list | Core shots done for every product and variant | Your shot list |
| Light | One source, soft, same time of day | Your setup |
| Framing | Same ratio, product fills most of the frame | Media editor |
| Editing | True colors, clean background, 2048 px | Editing app |
| Upload | Main image first, variants assigned | Products |
| SEO | Alt text and file names on every image | Product media |
| Main images free of text, logos and borders | Merchant Center |
Next steps
Start with your five best sellers: reshoot them with the setup above, then compare. Write your shot list, background and lighting into a short brand style guide so every future shoot matches. My guide to building a brand style guide shows what to include, and designing a high-converting product page covers where photos sit on the page.
If you're weighing up a professional photographer instead, my answer on how much product photography costs gives the ranges. If you want your product pages reviewed, photos included, I offer a free store review. CRO work starts from $500, with a fixed quote for every project.
Free tools
Check your own store
Free, no sign-up. Each one runs a part of this guide for you.
Frequently asked questions
What size should product photos be for Shopify?
Shopify recommends 2048 x 2048 px for square product images. It accepts images up to 5000 x 5000 px and 25 megapixels, under 20 MB. Keep the same aspect ratio across your catalog so collection pages line up.
Can I take product photos with my phone?
Yes. A recent phone on a tripod, next to a window, with a white sweep and a reflector, produces clean product photos. Lock focus and exposure, avoid digital zoom and step back to use the 2x lens if your phone has one.
What is the best lighting for product photography?
Soft, single-source light. A large window with indirect daylight is the easiest option, with white foam board opposite to fill shadows. If you shoot in the evening, one daylight-balanced LED panel with a diffuser works well.
What background should I use for product photos?
Use white or light gray for the main image, because it works in collection grids and meets Google Shopping rules. Use styled or lifestyle backgrounds for the other images on the product page.
How many photos should a product have?
Most products need a main shot, two or three angles, a detail shot, a scale shot and a styled shot, plus one image per color variant. Higher-priced products usually need more.
What are Google Shopping's image requirements?
Google recommends about 1500 x 1500 px or more and will require at least 500 x 500 px from 31 January 2027. Images can't include promotional text, watermarks, borders or added logos, and the product should fill 75% to 90% of the frame.
Sources
- Product media types, Shopify Help Center
- Adding alt text to product media, Shopify Help Center
- Editing media in the Shopify admin, Shopify Help Center
- Image link [image_link] requirements, Google Merchant Center Help
- Google image SEO best practices, Google Search Central
Related services and work

I'm a Shopify developer and CRO specialist. I have built and improved Shopify stores since 2018, completed more than 1,000 projects, and hold a 4.96 average rating across 719 client reviews.
More guides
-
Why Shopify Stores Lose Sales on Mobile: A Practical CRO Checklist
Mobile visitors decide fast, with one thumb and plenty of distractions. Here is how to find the leaks on a Shopify store and fix them in the right order.
-
Shopify CRO Audit Checklist for DTC Brands
The checklist I use to audit DTC Shopify stores, from checking that the data can be trusted to deciding which fixes to ship first.
-
When to Build a Custom Shopify App Instead of Adding Another Subscription
Another subscription is the quickest fix, until you are paying for five apps that still don't match how your business works. Here is how to decide.
-
How to Find Out What Theme a Shopify Store Uses
Every Shopify store names its theme in the page code. Here is where to look, how to read what you find, and what it means for your own theme choice.
-
How to See What Apps a Shopify Store Uses
Apps leave traces in a store's page code: scripts from their own servers, app embed folders and pixel settings. Here is how to read them, and what to do with the list.
-
How to Name a Shopify Store (and Check the Name Is Free)
A store name has to be easy to say, free as a domain and a handle, and clear of other brands. Here is the process I use with clients, and what Shopify lets you change later.