Shopify guideGuide7 min read
How to Customize Your Shopify Checkout
You can change more of Shopify's checkout than most store owners think, and less than most app listings imply. This guide shows exactly what each plan lets you customize, with the admin steps for each change.
Key takeaways
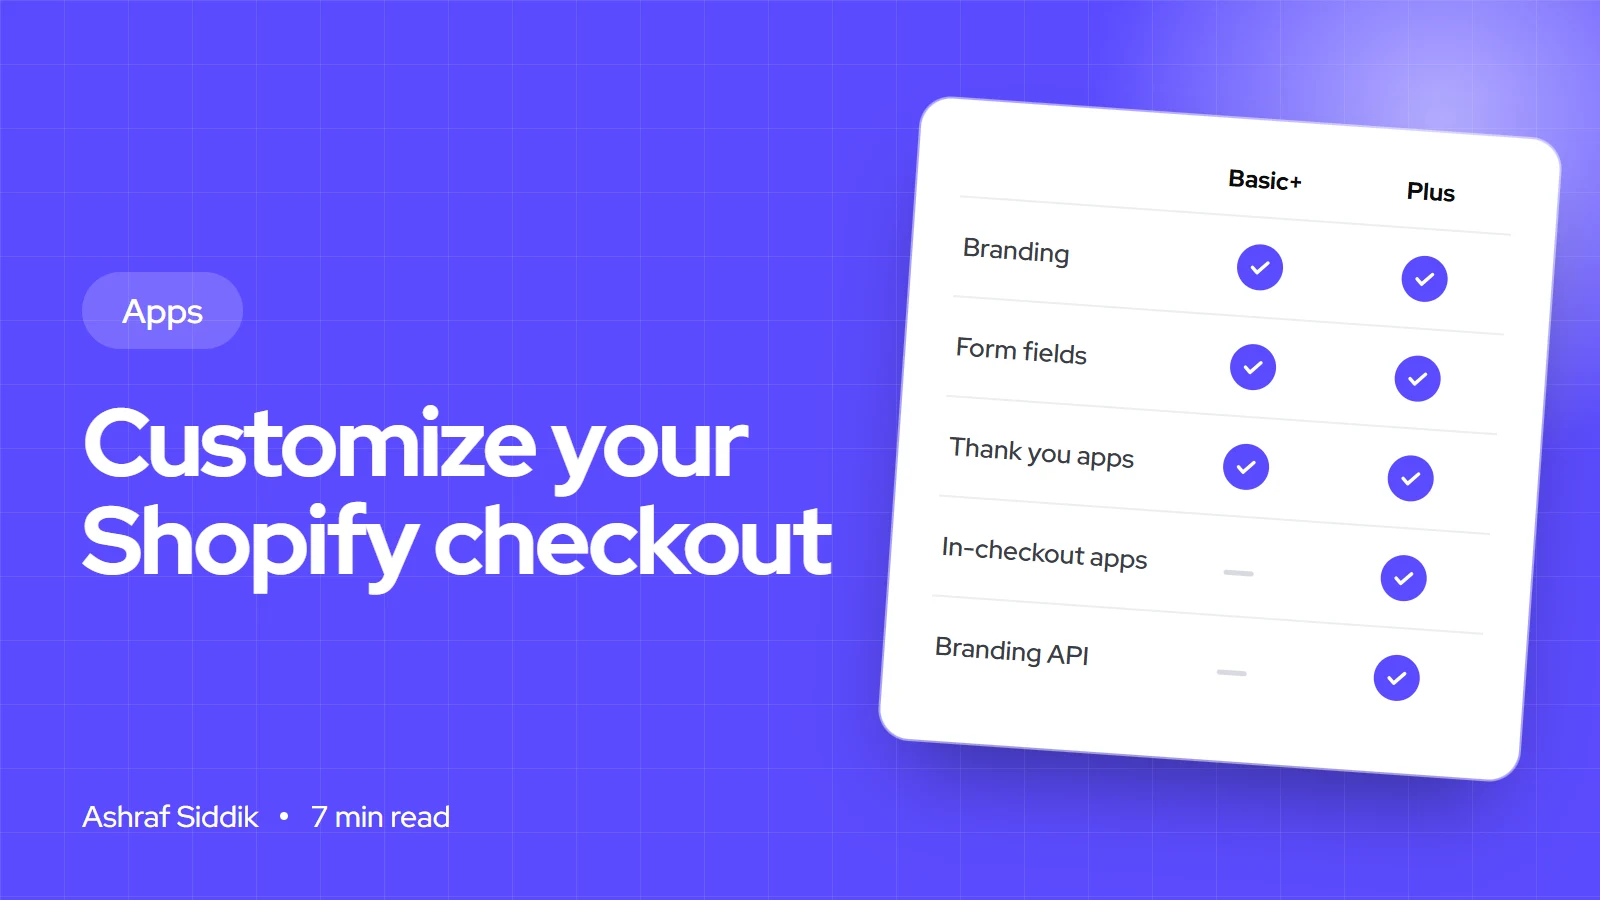
- On every plan from Basic up, you can brand the checkout, edit the form fields and add eligible apps to the thank you and order status pages in the checkout and accounts editor.
- Apps that add content to the information, shipping and payment steps, and the Checkout Branding API, are Shopify Plus only.
- Payment and delivery rules come from apps built on Shopify Functions. Below Plus, payment customizations in the US and Canada can't change the credit card option.
- checkout.liquid is gone. The deadline for the thank you and order status pages was 26 August 2026, and stores that hadn't upgraded were upgraded automatically.
- Who it is for
- Store owners on any plan
- Time needed
- About an hour for the free changes
- What you need
- Admin access and your plan details
"Can you add a banner to our checkout?" is one of the most common requests I get, and the honest answer depends on two things: which plan the store is on, and which page of the checkout the banner should go on. Shopify's checkout is locked down by design. That's part of why it converts well and stays secure, but it means customization works through settings, apps and extensions rather than by editing a template.
This is the hands-on guide: what you can change, where in the admin, and which changes need Shopify Plus. Every setting was checked against Shopify's Help Center and developer docs on 7 November 2026. If you want the background on how the system fits together, my guide to Shopify checkout extensibility covers that.
What you can customize on each plan
| Change | Basic to Advanced | Shopify Plus |
|---|---|---|
| Logo, colors, font, background | Yes, in the editor | Yes, plus Branding API |
| Form fields | Yes | Yes |
| Apps on thank you and order status | Yes | Yes |
| Apps in information, shipping, payment | – | Yes |
| Hide or rename payment methods | Public apps; no card changes in US and Canada | Yes, custom apps too |
| Delivery option rules | Public apps | Public or custom apps |
| Checkout validation rules | Public apps | Public or custom apps |
The pattern is simple. Anything that changes the main checkout steps themselves, or uses a custom-built app for logic, needs Plus. Branding, form settings and post-purchase pages work on every plan. If you're weighing the upgrade, my Shopify vs Shopify Plus comparison covers the full list of differences.
Step 1: Brand the checkout
Branding is done in the checkout and accounts editor, which is separate from the theme editor and covers checkout, thank you, order status and customer account pages.
- Open the editor. Go to
Settings > Checkoutand click Edit on your checkout configuration. - Add your logo. Use a sharp, horizontal version. Keep it small so the order summary stays above the fold on phones.
- Set colors and font. Match your store's main button color and body font. Check that buttons and error messages have strong contrast.
- Choose a background. A plain color reads better than an image on small screens.
- Preview and save. Preview on desktop and phone, then save the configuration.
On Plus, developers can go further with the Checkout Branding API, using the checkoutBrandingUpsert mutation to set color schemes, typography scale, corner radius and section styling. Shopify notes that styling can't target individual pages and SVG isn't supported.
Step 2: Set the checkout form fields
Every field you remove is one less reason to stop. Go to Settings > Checkout and work through the form options:
- Customer contact method: Phone number or email, or Email. Leave Require customers to sign in off unless you sell only to account holders.
- Full name: Require first and last name or Only require last name.
- Company name: Don't include, Optional or Required. Hide it unless you sell to businesses.
- Address line 2: same three choices. Keep it optional, because apartments need it.
- Shipping address phone number: same three choices. Only require it if your carrier needs it.
- Marketing opt-in: email, SMS and, in some regions, WhatsApp checkboxes, with email preselection by region.
Adding brand-new fields, such as a gift message or a delivery instruction box inside the checkout steps, needs a checkout UI extension in the information, shipping or payment step, which means Plus. On other plans, collect that information in the cart with cart attributes, where the theme can add fields freely.
Step 3: Add apps to the thank you and order status pages
These two pages are where non-Plus stores have the most freedom. Eligible apps can add surveys, upsells, social links, delivery tracking, reorder buttons and content blocks.
- Install the app. Pick one that says it supports the thank you or order status page.
- Open the editor.
Settings > Checkout, then Edit on your configuration. - Choose the page. Use the page selector at the top to open the Thank you or Order status page.
- Add the block. In the Sections sidebar, click Add block in the section you want, or open the Apps sidebar and click the plus icon next to the app's block.
- Configure and save. Set the block's options, preview it, then save.
Shopify's own free Checkout Blocks app is a good starting point here. On Basic and above, its dynamic and static content blocks can be placed on the thank you and order status pages. All its other features, including blocks inside the checkout steps, custom discounts and hiding or renaming payment and delivery methods, are limited to Plus.
Step 4: Customize payment methods and delivery options
Hiding cash on delivery above a set order value, renaming a shipping method or putting pickup first are all done with apps built on Shopify Functions. Since Shopify Scripts were retired on 30 June 2026, this is the only route.
- Install a customization app from the App Store that handles the rule you need.
- Payment rules: go to
Settings > Payments. In Payment customizations, click Manage, then add, configure and activate the customization. - Delivery rules: go to
Settings > Shipping and delivery. In Delivery customizations, click Add delivery customization, then configure and activate it. - Test with carts that should and shouldn't trigger each rule.
Two plan rules matter. Below Plus, payment customizations in the US and Canada only apply to non-credit-card methods. And custom-built apps containing functions only install on Plus, so other plans rely on public apps. My Shopify Functions guide explains how these work underneath.
Step 5: Add checkout rules
Checkout rules stop an order that breaks a condition: a maximum quantity per customer in a limited drop, a minimum order for trade customers, or an address restriction. They come from apps that use the Cart and Checkout Validation API, and they also apply to express checkouts like Shop Pay and Apple Pay.
- Install the app that provides the rule.
- Add it. Go to
Settings > Checkout. Under Checkout rules, click Add rule and select it. - Configure, activate and save. Decide whether checkout should still go through if the rule hits an error.
- Test the error message shoppers see. It should say what to change, such as "Limit 2 per order".
A store can activate up to 25 validation functions, so the limit is rarely a concern.
Step 6: Plus-only customizations inside checkout
On Shopify Plus, checkout UI extensions can add blocks to the information, shipping and payment steps: delivery date pickers, gift messages, trust content, upsells, custom fields and loyalty points. Developers build them with Shopify CLI (shopify app generate extension --template checkout_ui), and merchants place them in the checkout and accounts editor like any other block. Each extension's compiled bundle can't exceed 64 KB, which keeps checkout fast.
If a Plus store needs an extension that no app offers, a custom app with a checkout UI extension is usually a small, contained build. My Shopify app development service starts from $800.
Don't forget tracking
Old checkout customizations often included tracking scripts. Those no longer run on checkout pages. Since the thank you and order status upgrade deadline of 26 August 2026, conversion tracking goes through app pixels or custom pixels under Settings > Customer events. If your ad platform reports dropped after an upgrade, check your pixels before anything else.
Common checkout customization mistakes
- Buying a checkout app on a non-Plus plan without checking which pages it can use. Many only work inside checkout steps on Plus.
- Adding too much to the thank you page. One survey and one useful block beat five widgets.
- Requiring a phone number without a delivery reason.
- Two apps editing the same payment or delivery methods. They can override each other.
- Not testing express checkout. Rules and validations apply there too.
- Leaving old tracking in theme files and adding a pixel, so conversions count twice.
Shopify checkout customization checklist
| Area | Check | Done when |
|---|---|---|
| Branding | Logo, colors, font | Matches the store on phone |
| Form | Company, address line 2, phone | Optional or hidden |
| Post-purchase | Thank you page block | Survey or useful content live |
| Payments | Payment customizations | One app, tested |
| Delivery | Delivery customizations | Rules tested with real carts |
| Rules | Checkout rules | Clear error messages |
| Tracking | Pixels in Customer events | Purchases recorded once |
Next steps
Start with what's free on every plan: branding, form fields and a thank you page survey. That's an hour's work. Then list any rule you need at checkout, such as hidden payment methods or quantity limits, and look for a public app that handles each one.
If you're on Plus and need something in the checkout steps that no app does, or you're not sure whether a change is possible on your plan, send me what you want to add and I'll tell you how it can be done.
Free tools
Check your own store
Free, no sign-up. Each one runs a part of this guide for you.
Frequently asked questions
Can you customize the Shopify checkout?
Yes, within limits. Every plan from Basic up can change branding, form fields and add eligible apps to the thank you and order status pages. Adding content to the information, shipping and payment steps needs Shopify Plus.
Can I customize the Shopify checkout without Shopify Plus?
Yes. You can brand it, set form fields, add apps to the thank you and order status pages, and use public apps for payment, delivery and validation rules. You can't add app blocks inside the main checkout steps or use custom apps with functions.
Is checkout.liquid still available?
No. checkout.liquid is unsupported for the information, shipping and payment steps, and the deadline to replace it on the thank you and order status pages was 26 August 2026. Stores that hadn't upgraded were upgraded automatically.
How do I add a custom field to Shopify checkout?
On Shopify Plus, a checkout UI extension can add fields to the information, shipping or payment steps. On other plans, collect the information in the cart with cart attributes, which the theme can add.
How do I hide a payment method at checkout?
Install a payment customization app, then go to Settings > Payments, click Manage under Payment customizations and activate the rule. Below Plus, US and Canadian stores can't hide or change the credit card option.
What is the best Shopify checkout customization app?
Start with Shopify's free Checkout Blocks app. On Basic and above it adds content blocks to the thank you and order status pages, and on Plus it adds blocks inside checkout plus payment and delivery customizations.
Sources
- Customizing your checkout and accounts pages, Shopify Help Center
- Adding apps to your checkout, Shopify Help Center
- Checkout Blocks, Shopify Help Center
- Customizing payment methods and delivery options, Shopify Help Center
- Editing the checkout form options, Shopify Help Center
- Checkout styling, Shopify.dev
Related services and work

I'm a Shopify developer and CRO specialist. I have built and improved Shopify stores since 2018, completed more than 1,000 projects, and hold a 4.96 average rating across 719 client reviews.
More guides
-
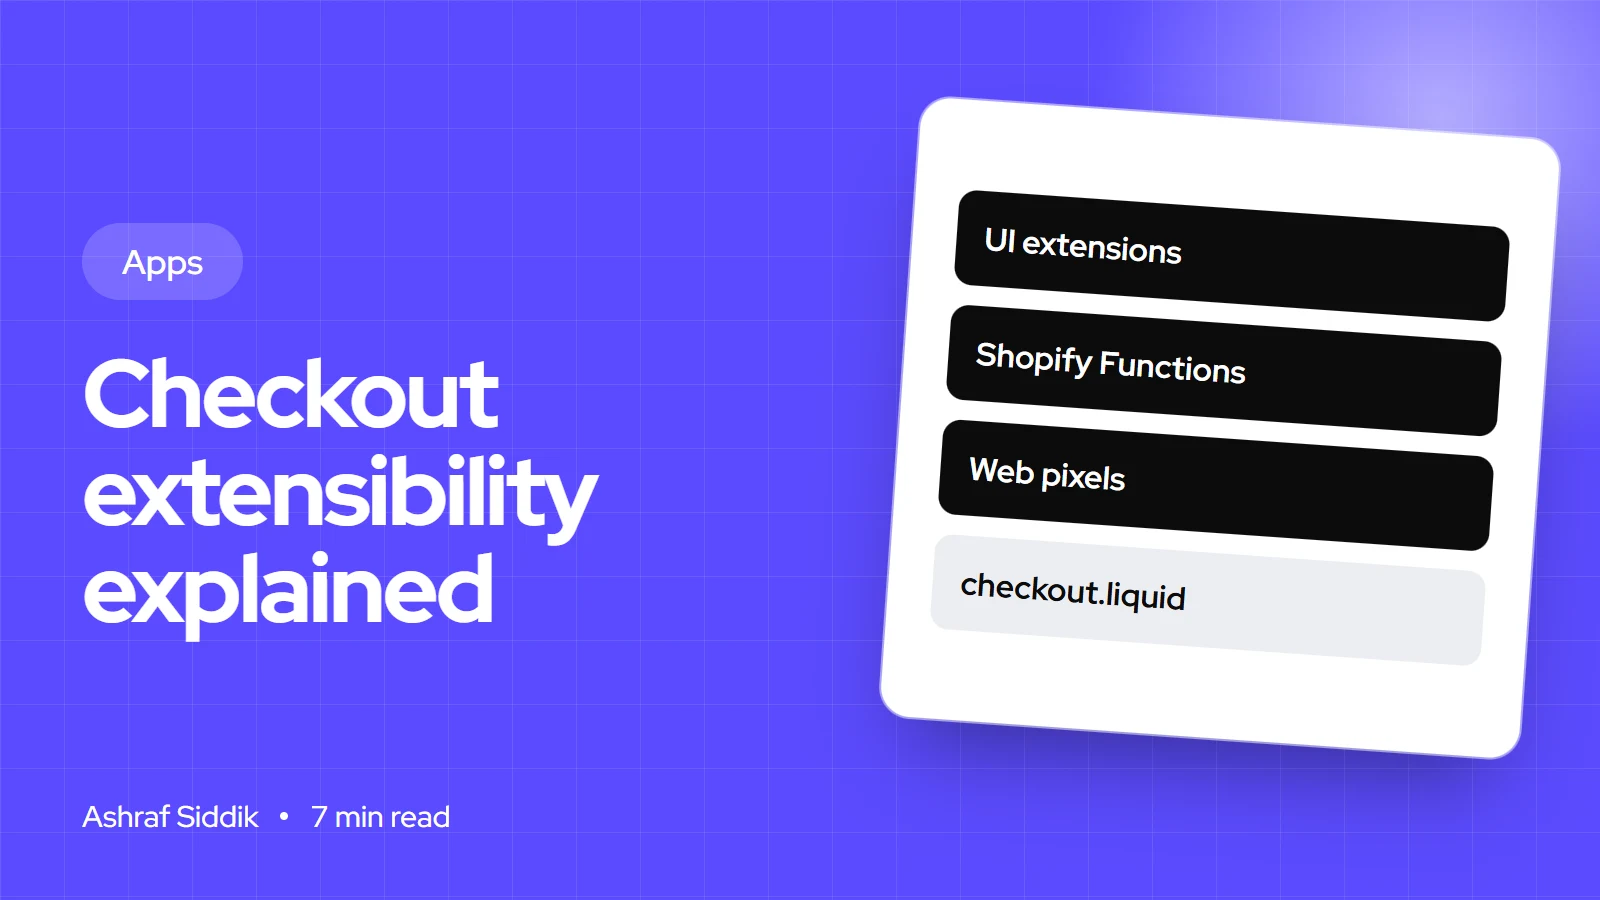
Shopify Checkout Extensibility Explained
Checkout extensibility is the name for the tools that replaced checkout.liquid, additional scripts and Shopify Scripts. Here is what each part does, which plan it needs, and how to move tracking such as Google Tag Manager across.
-
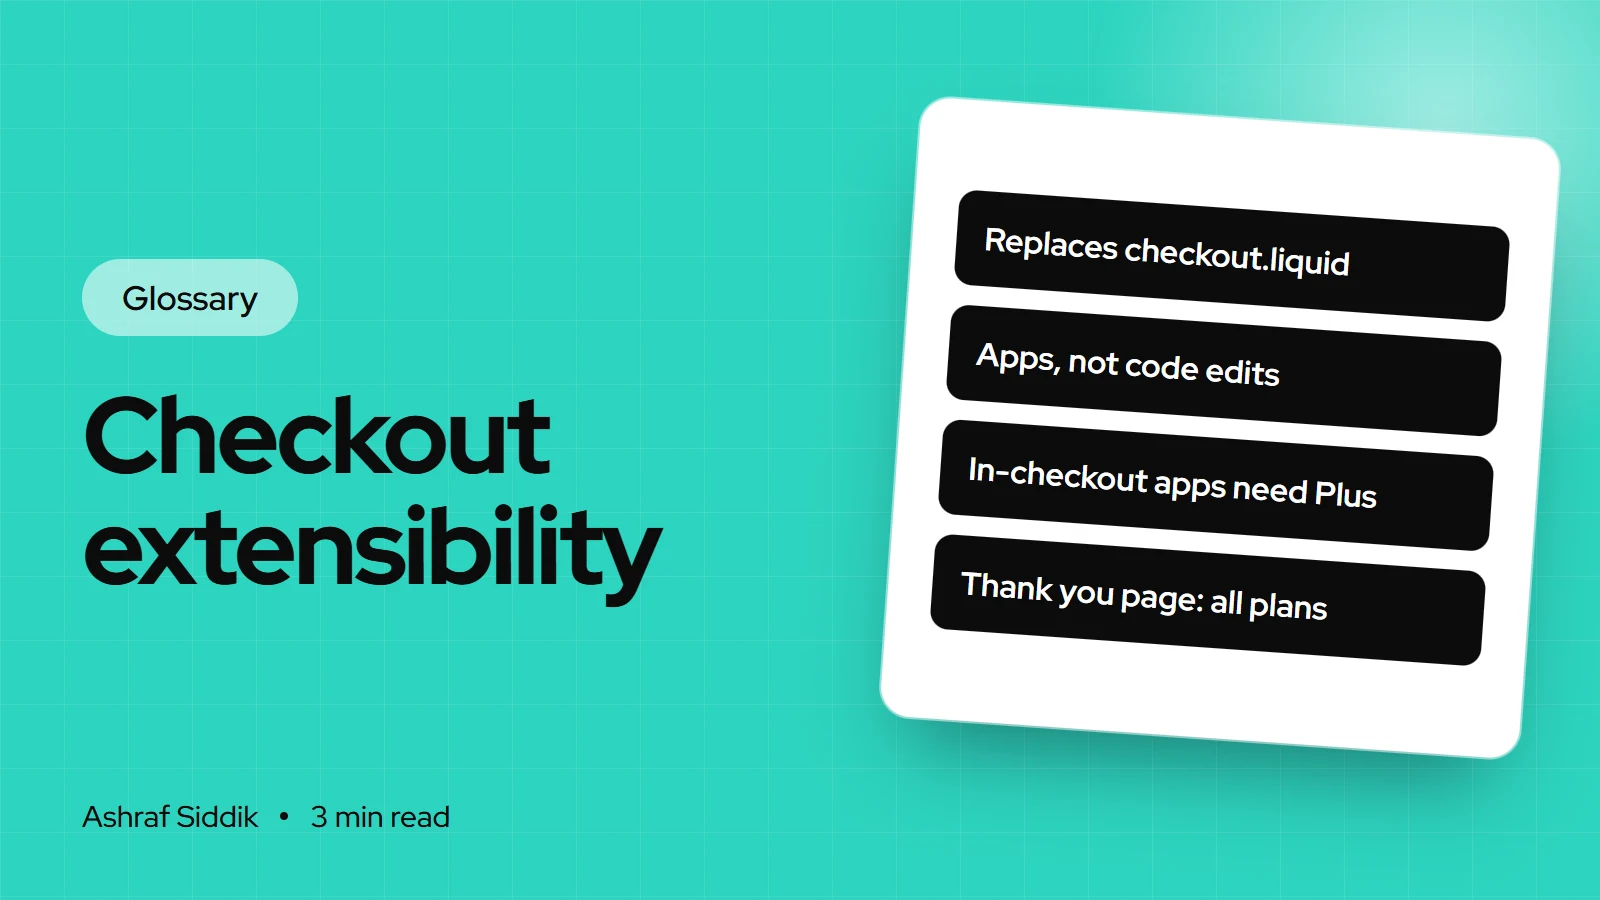
What Is Checkout Extensibility? Shopify's Checkout Customization Explained
Checkout extensibility is how Shopify checkout is customized now: with apps and extensions instead of checkout.liquid code. Here is what it includes, what each plan can change, and what happened to the old way.
-
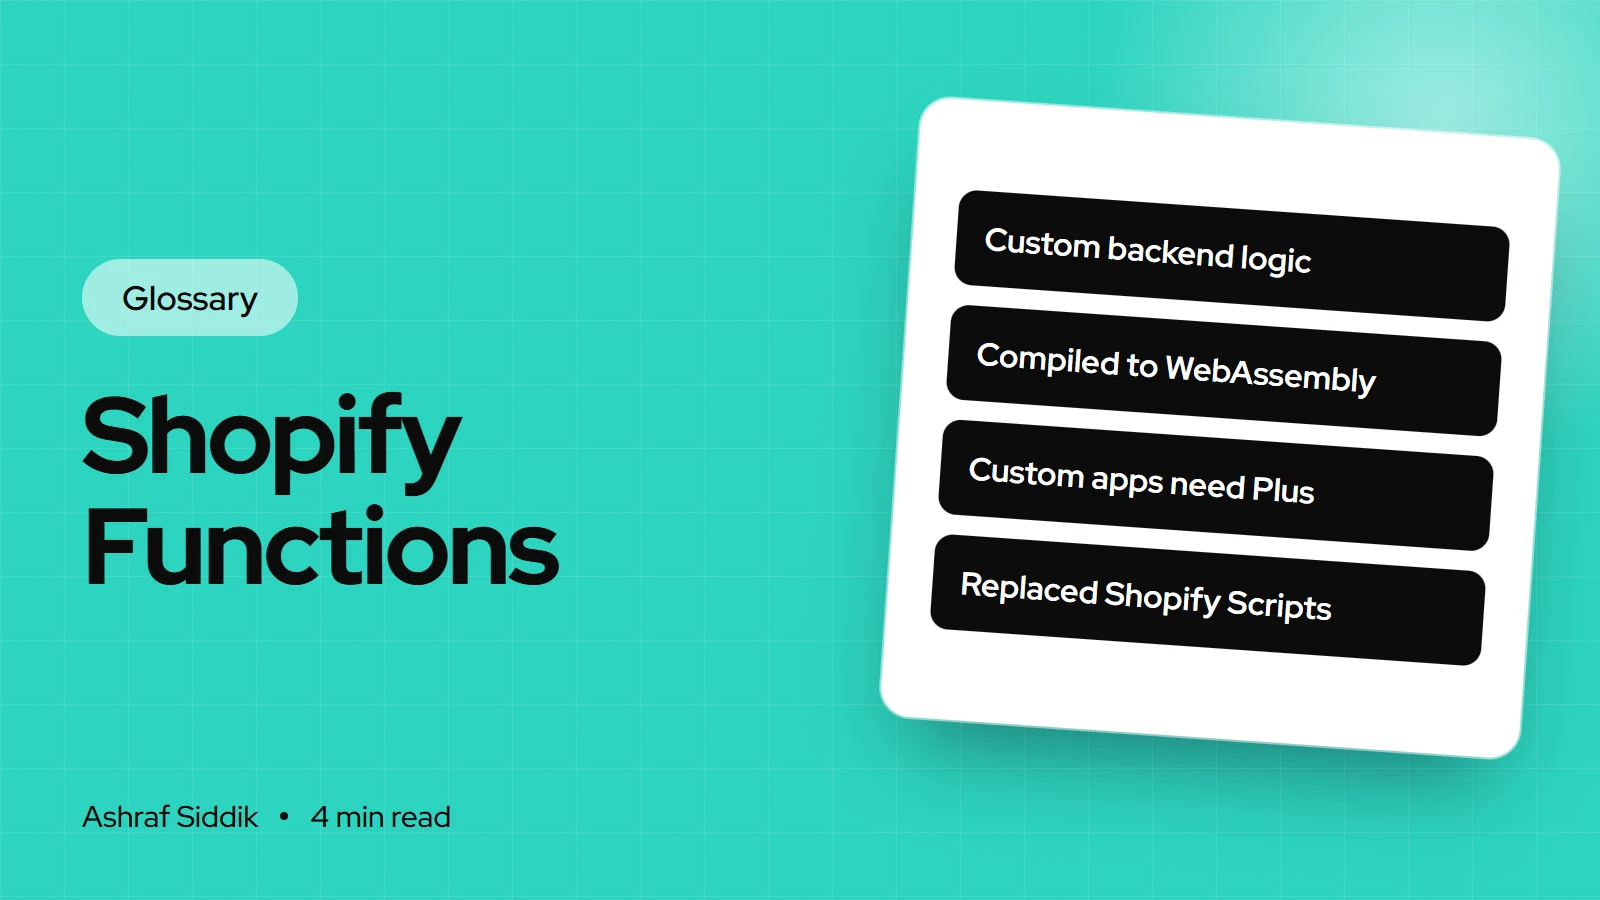
What Are Shopify Functions? Custom Discount, Shipping and Checkout Logic
Shopify Functions let an app change how Shopify calculates discounts, shows delivery and payment options, and validates carts. Here is how they work, what they can change, and which plans can use them.
-
How to Add an AI Chatbot to Your Shopify Store
Shopify now ships a free AI agent inside Shopify Inbox, so the first question isn't which chatbot app to buy, but whether you need one at all. Here is how to set up the free option, what the paid apps add, and when a custom build makes sense.